Sauna Cladding
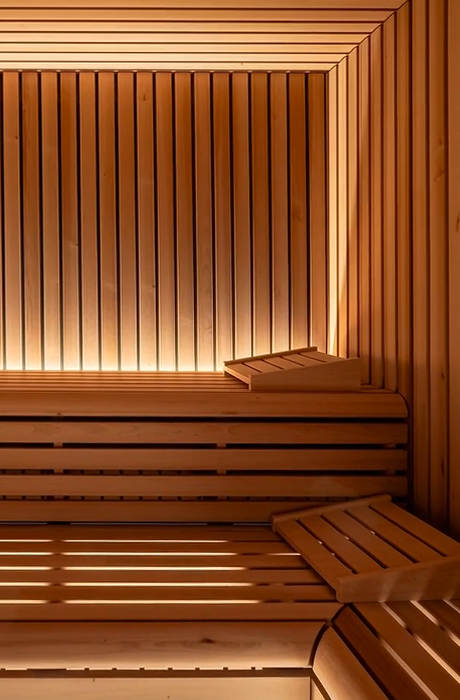
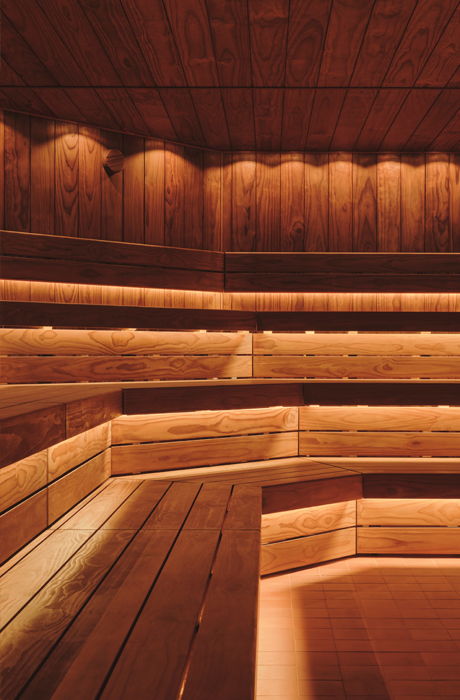
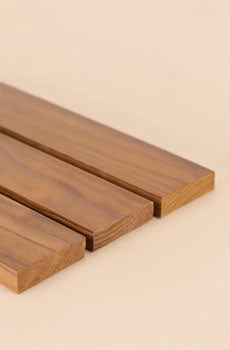
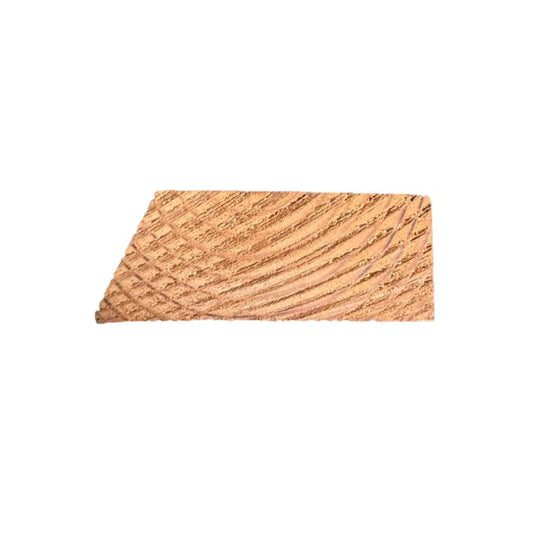
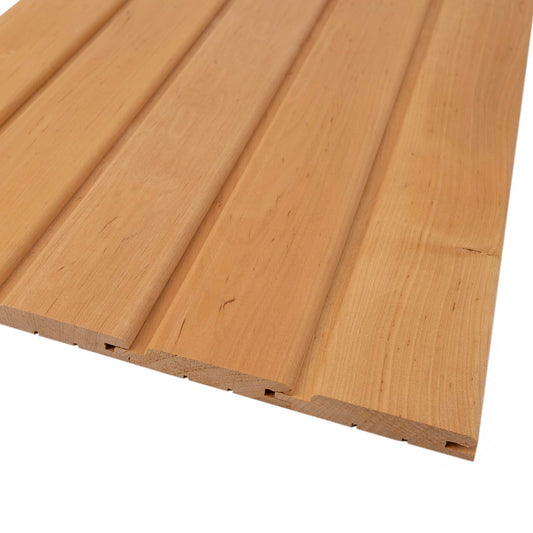
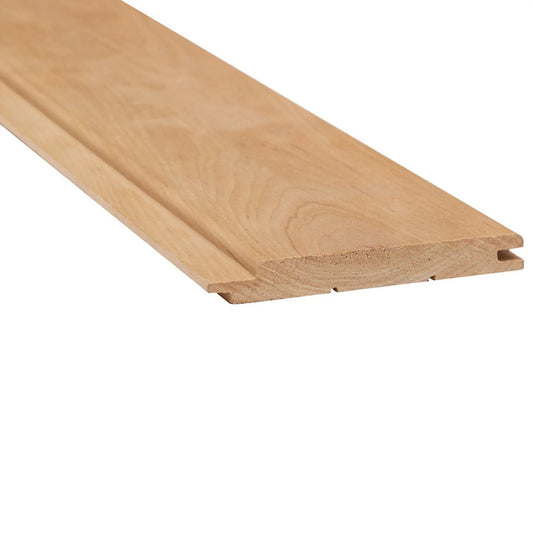
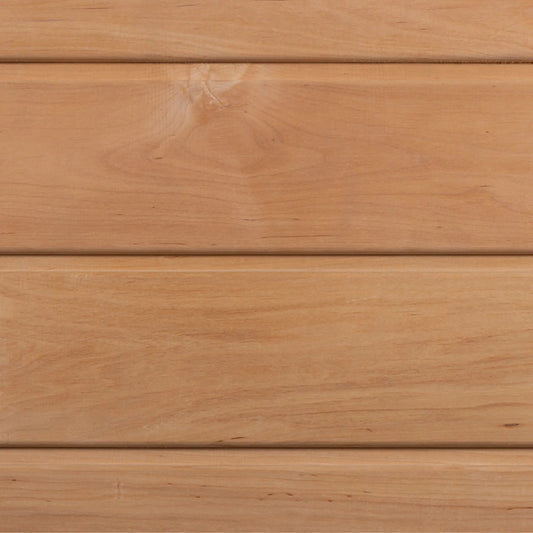
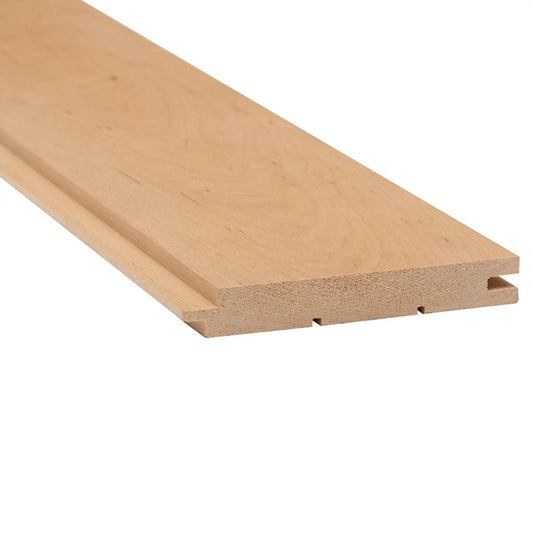
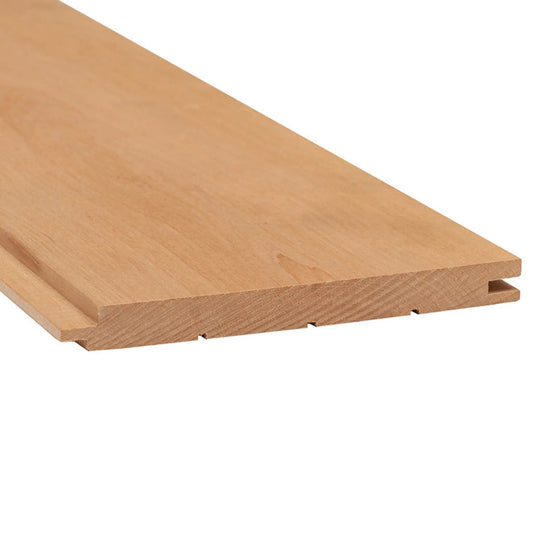
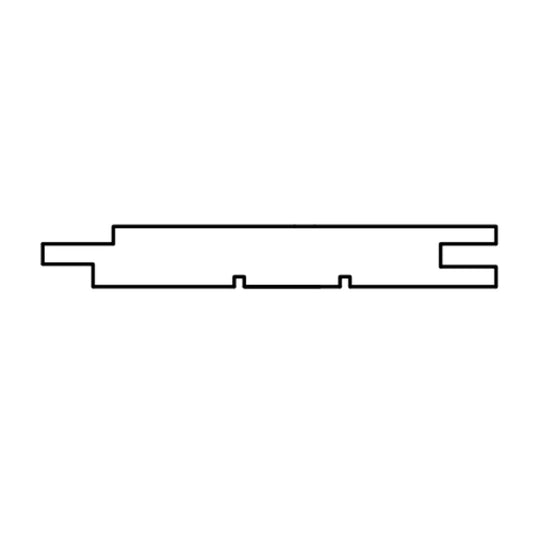
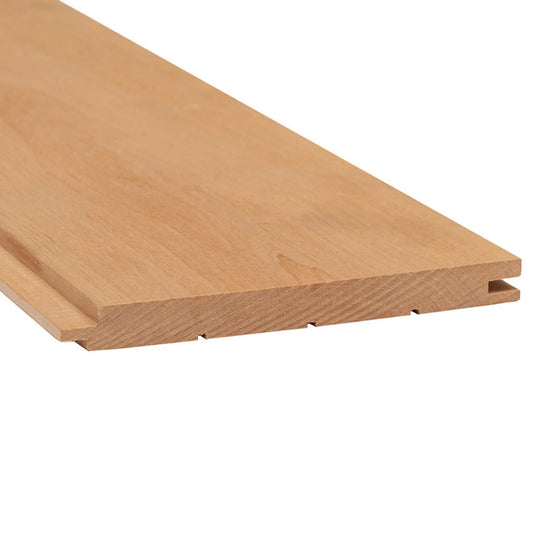
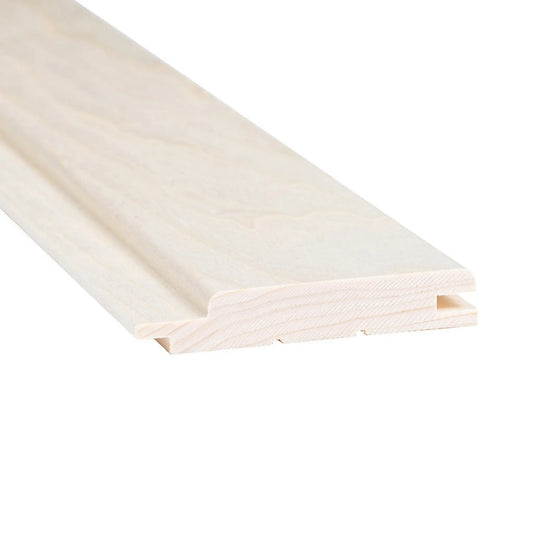
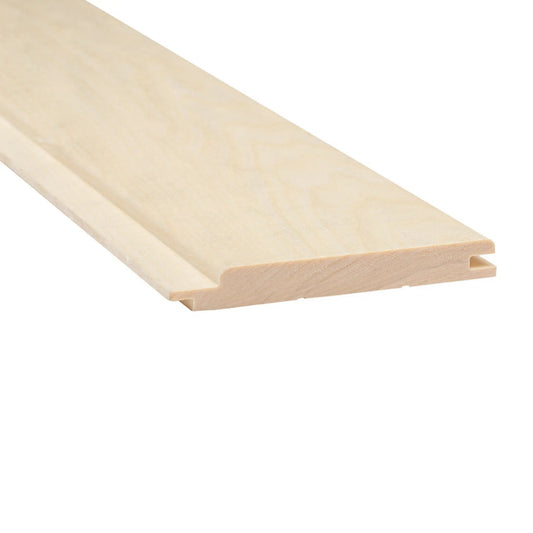
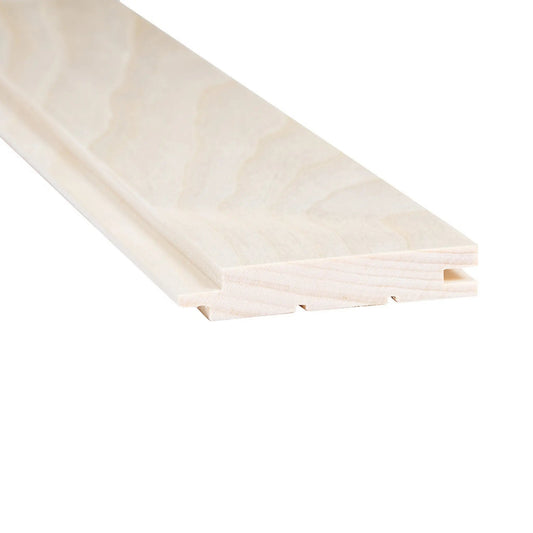
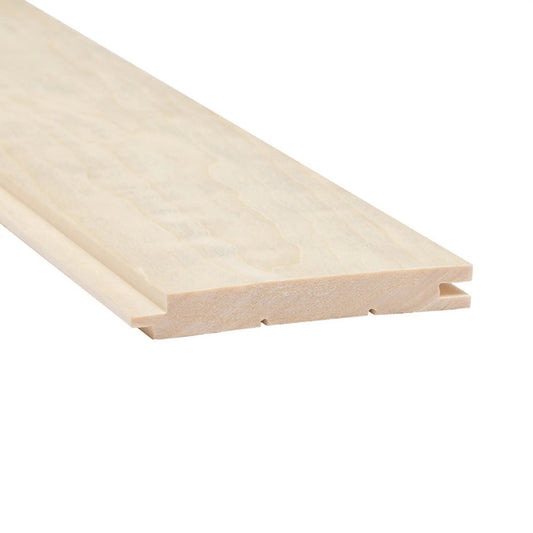
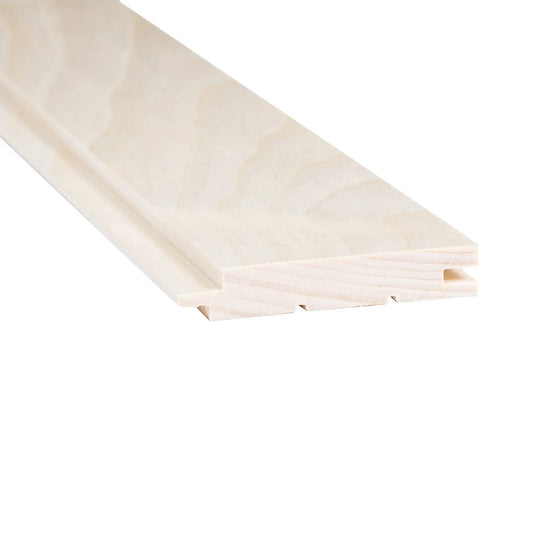
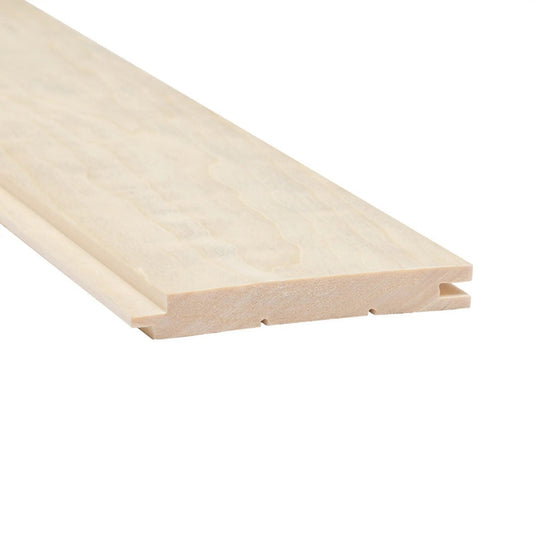
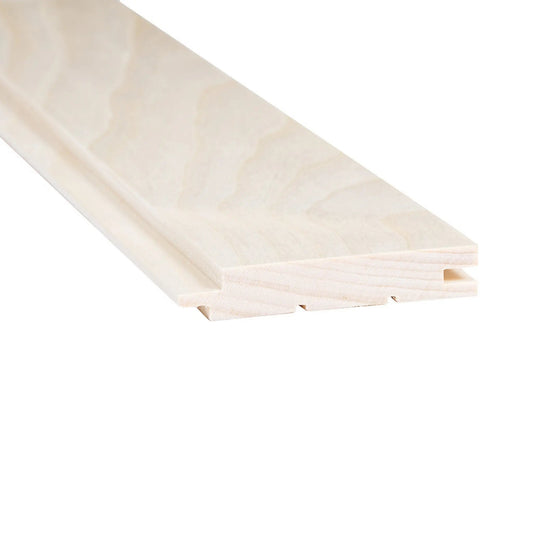
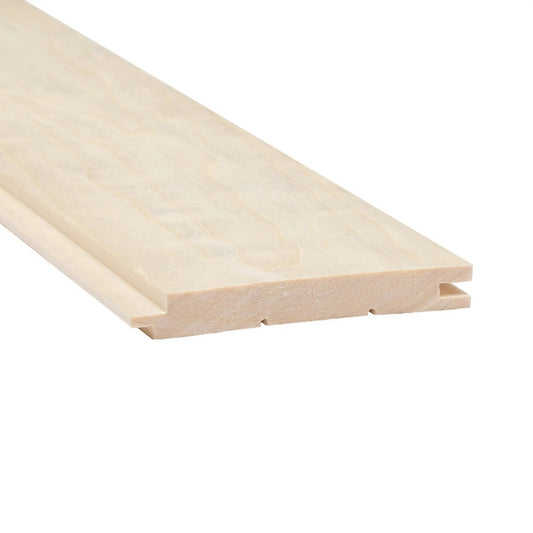
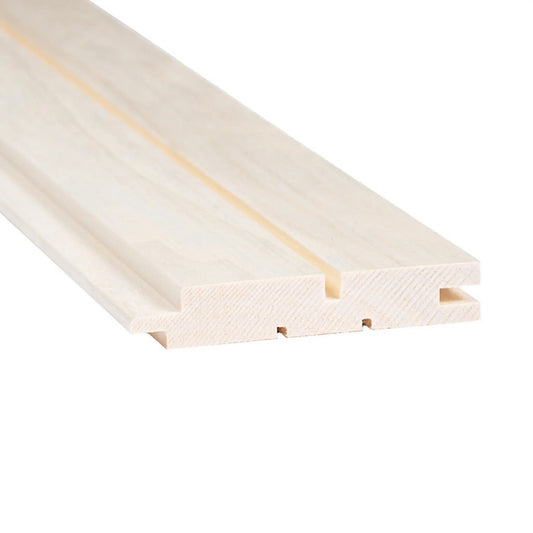
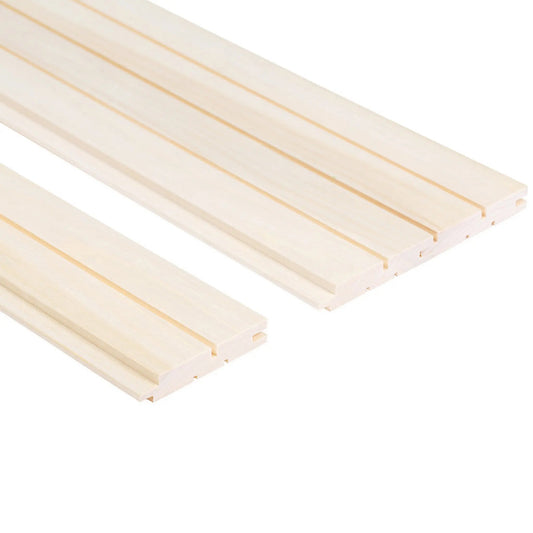
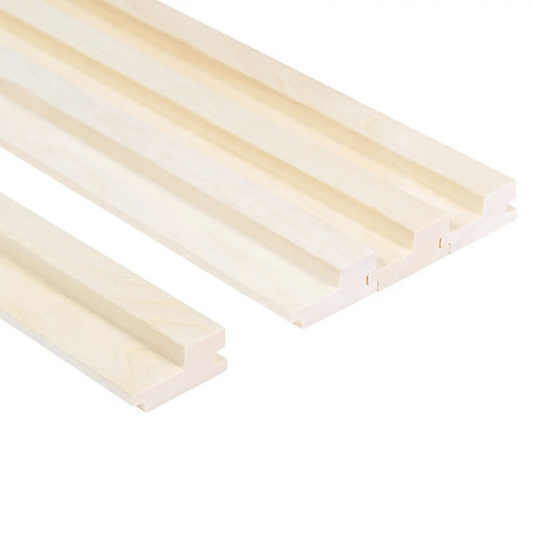
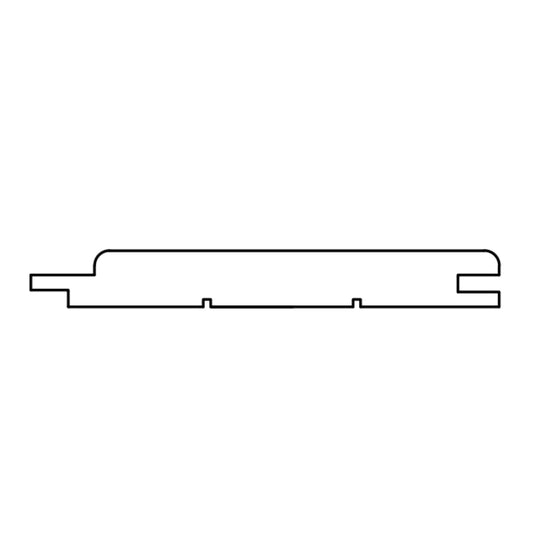
Premium sauna cladding for walls and ceilings, engineered for heat and humidity. Finnmark stocks Aspen, Alder, and thermo-treated Nordic timber in a comprehensive range of tongue-and-groove profiles – from clean-lined STS4 panels to textured STEP and ROMBTO feature boards. Every board is selected specifically for sauna use: low resin, low thermal conductivity, and a minimum 14 mm thickness to meet the Finnish standard for sauna construction.
Whether you’re lining a DIY home sauna, fitting out a garden sauna cabin, or specifying timber for a commercial wellness project, you’ll find the right species, profile, and length here – backed by free expert guidance from our team of 40+ sauna specialists.
Looking to learn more about sauna wood? Read our dedicated guide: Best Wood for Saunas (& Why).
-
SALE

 Sale
Sale -
Sold out

 Sold out
 -
Sold out
 Sold out
 -
Sold out
 Sold out
 -
Sold out

 Sold out
 -

-

-
Sold out
 Sold out
 -
-
-
-
Sold out
 Sold out
 -

-

-

-

Choosing Your Sauna Wood Cladding
Your sauna wood cladding sets the finish and feel of your retreat. For interiors, choose Aspen or Alder timber for low heat transfer and natural aesthetics; select thermo-treated variants where durability, heat resistance and humidity stability matter most. Exterior applications (e.g., outdoor cabins where specified) benefit from the same stable, humidity-resistant boards and a robust build-up for moisture protection.
Match species to the look you want, then pick a profile for the line you prefer:
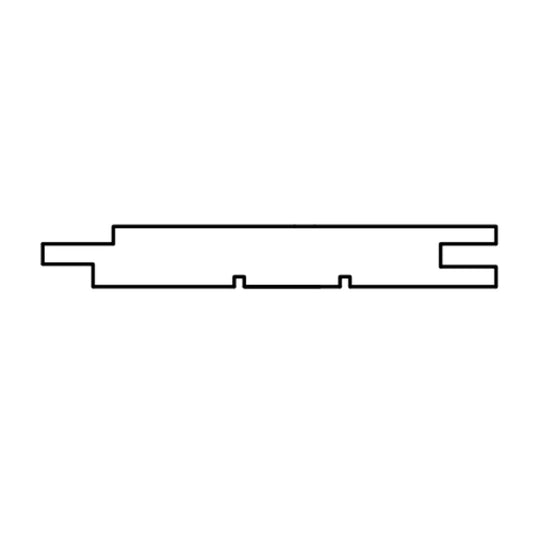
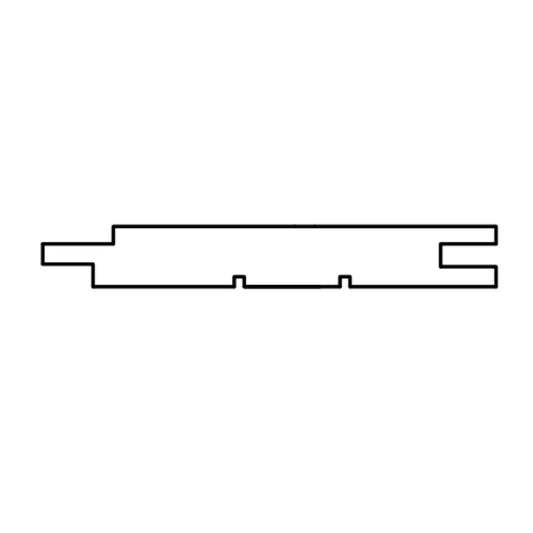
- Core profiles: Kallio, STS4, STP for clean, consistent wood panels on walls and ceilings.
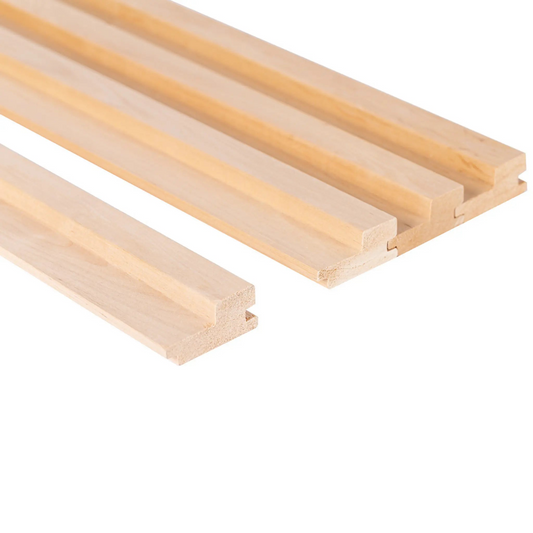
- Specialised ranges: STEP, VALEURA, KYTE, VIRE, ROMBTO for added shadow and aesthetic design detail.
FSC®/PEFC options available across core species.
Specification at a glance for sauna timber cladding:
- Thickness: use ≥14 mm boards (the Finnish legal minimum) to avoid movement in high heat.
- Widths: typically 90 / 120 / 140 mm for balanced spans and installation ease.
- System fit: plan thermal insulation, a moisture barrier (vapour sealing) and ventilated battens to protect the structure and keep maintenance easy.
If you’re matching your saunas benches, aim for ~28 mm bench timber (SHP profile) in the same species to keep tone and texture consistent across the room.
Unsure about what option is right for you? Our team of sauna specialists are on hand for free, expert guidance at any time in your build. Contact us today.
Everything You Need to Build a Sauna
A great sauna is a system. Your sauna cladding performs best when the surrounding components match its standard; so the room looks cohesive, handles heat and humidity, and stays easy to maintain.
Trims & Feature Surfaces
- Corner mouldings & edge trims – matching species and sizes for neat terminations and consistent shadow lines across walls and ceilings.
- Sauna feature wall panels – add controlled texture and natural aesthetics that complement your main boards without complicating installation.
Heat Sources
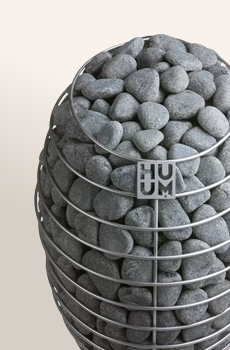
- Electric sauna heaters – a broad range of kW outputs for different room volumes, with steady heat delivery and straightforward integration.
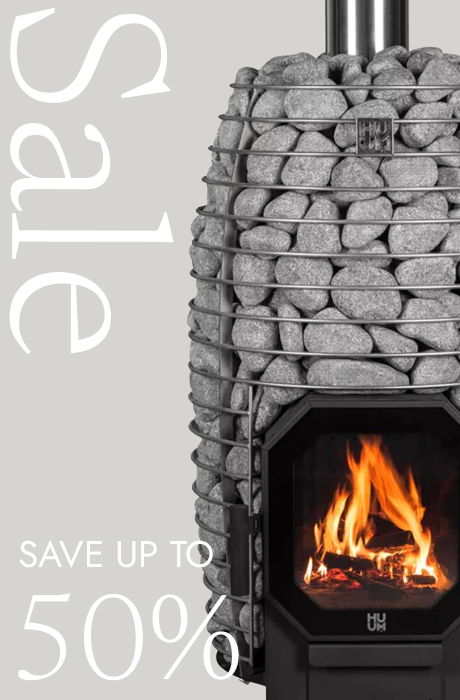
- Wood-burning stoves – authentic Finnish warmth with models suited to compact barrels through to larger cabins; robust, heat-resistant construction throughout.
Access & Lighting
- Sauna doors – quality glass options that align with your cladding tone for a clean, modern look.
- Sauna lighting – IP-rated fittings and accent options that highlight profile detail and maintain a calm, low-glare atmosphere.
Control & Monitoring
- Digital control panels – reliable temperature and schedule control for consistent sessions and low-effort operation.
- Thermometers & hygrometers – clear, at-a-glance readings to keep heat and humidity in the comfort zone.
Whether you’re building a luxury barrel sauna, a garden sauna room, or a tailored indoor sauna, Finnmark stocks the matching components – and offers practical guidance – so the whole build reads as one.
Sauna Bench Wood - FAQs
What is sauna cladding?
Sauna cladding is the interior wood panelling that lines sauna walls and ceilings to create a stable, heat-tolerant finish and protect the structure. It forms the visible surface, manages heat and humidity with a ventilated cavity behind, and delivers a clean, durable interior.
Made from low-resin, low-conductivity softwoods (typically Aspen, Alder and thermo-treated variants), it stays comfortable to the touch and keeps maintenance simple.
What thickness should sauna wood cladding be?
Use boards ≥ 14 mm thick for interior sauna cladding. Thinner stock is more prone to warping and cupping under heat/humidity cycles. Typical widths are 90 / 120 / 140 mm – choose a thickness/width combo that maintains span and keeps fixings discreet.
What’s the best wood for sauna cladding?
Choose softwoods with low heat transfer and minimal resin:
- Aspen – pale, knot-light, comfortable to the touch.
- Alder – warm tone, smooth grain, reliable in regular use.
- Thermo Aspen / Thermo Alder – thermally modified for improved stability, durability and a richer colour.
(Denser hardwoods are avoided for sauna cladding – they hold more heat and can feel harsh.)
Should sauna cladding be installed vertically or horizontally?
Both work – decide by layout and drainage:
- Vertical: emphasises height, creates tidy lines above benches, and can help shed condensation.
- Horizontal: visually widens smaller rooms and aligns neatly with benches and backrests.
Can I stain or varnish sauna timber cladding?
No, do not use any varnish or film finishes on your sauna wood cladding. They trap moisture and can become tacky at temperature. For protection, use a sauna-specific paraffin oil (light, breathable) on high-touch areas. Avoid waxes and generic household oils.
How do I clean and maintain sauna wood cladding?
After use, ventilate and let the panels dry. Wipe splashes with a damp (not wet) cloth, working with the grain. Periodically clean with a sauna-safe, pH-neutral cleaner, avoiding any soaking or forcing moisture behind the boards.
What is thermally modified sauna wood?
Thermally modified timber (also called thermo-treated or heat-treated wood) is produced by heating natural wood to temperatures above 180°C in a controlled, oxygen-free environment. This process permanently alters the wood's cell structure, reducing its ability to absorb moisture and significantly improving dimensional stability. The result is sauna cladding that resists warping, cupping, and decay more effectively than untreated timber. Thermo-treated wood also develops a deeper, richer colour tone. Finnmark stocks Thermo Aspen, Thermo Alder, Dark Thermo Alder, and Thermo Radiata Pine cladding profiles.
Do I need a vapour barrier behind sauna cladding?
Yes. A continuous aluminium vapour barrier should be installed behind the battens and cladding. This prevents steam and moisture from penetrating into the insulation and wall structure, protecting against damp, mould, and structural damage. The vapour barrier works in conjunction with ventilated battens to allow the cladding to dry efficiently between sauna sessions.
