How to specify a sauna as an architect or designer
M&E Requirements
The first couple of things to consider when specifying a sauna are the interface areas between the rest of the space and the sauna itself as well as the M and E requirements or mechanical and electrical requirements. The M and E requirements for most saunas include ventilation, electrics (or flue if it has a wood fired sauna stove) and drainage. These are also the key interface areas.
Electrical considerations
The electrical supply for most UK saunas will either be a UK single phase 240 volt supply, where you can specify up to a 9kw heater, or a European style 400v three-phase power supply. On three-phase sauna heaters go up about 33kw which is for large commercial saunas but typical domestic three phase heaters will be 6-12kW.
Sauna heaters are one of the few things in the electrical wiring regulations where they state the manufacturer’s guidelines should be followed in reference to fault current protections and RCD’s. In many cases, sauna heater suppliers state that their heaters should be installed on their own MCB and not on the properties RCD to avoid nuisance tripping when water is poured on the stove. Because of this, you will require mechanical protection for the cable in the form of an armoured cable from the mainboard running to an isolator in the space adjacent. From the isolator, a rubberised H07RN-F cable should be specified because it is heatproof, other silicone heatproof cables can also be used. Most sauna heaters have a digital thermostat and control unit which needs to be considered in terms of where they are placed. The thermostat will be specified by the heater manufacturer but often located on the wall above and behind the heater 100mm from the ceiling. Depending on the product the controller can either be installed within the sauna, in the space adjacent or in commercial applications in a plant room or safely secured behind an access panel. Not all heater controllers are suitable for inside the sauna so do check when you are specifying.
Ventilation
The next consideration is ventilation. Sauna from Finland, the international organisation that supports the correct appropriation of the Finnish sauna experience around the world, state that the most important part of designing and installing a sauna in their own top five list is ventilation. Most sauna heaters require around 6 air turns per hour and a good sauna company should work with you to help specify the correct ventilation set up. However, in most cases, you’ll require two points of air intake and two points of exhaust.
The points of intake could be a gap under the door and a vent low down below the heater. Two points of exhaust can include a vent at head height - often referred to as the dump vent or drying vent which allows the sauna to dry off after usage or help reduce the heat and humidity if required. The second principal exhaust, located lower down under the benches. This helps to bring the heat and humidity fully down over the users which, in turn, prevents stratification of heat and humidity which makes the users head hot and their feet cold. The ventilation extraction should be aluminium or galvanised steel because of the heat and humidity in the air extracted from a sauna. The ventilation set up will differ from project to project but a good sauna designer will be able to work with you to model the optimum airflow set up.
Drainage and Flooring
We always suggest going for a tiled or porcelain tiled floor with a high anti-slip rating. In commercial applications, this should be as high as R13 though in domestic settings the sauna will likely form part of a wet room environment and therefore R11 or higher are acceptable.
Having a drain in the sauna area allows for easy cleaning, for the users to pour as much water on the stones of the sauna as they require and it also allows them to strip/wash in the sauna area. Where a client is insistent on wanting a wooden floor in their sauna we would recommend specifying a duct board because it means you can easily lift the board and clean it when required. Depending on the location of the waste outlet for the drain it may be most optimal to have a slot drain or a central drain with equal falls to the centre of the room. You can also offset the falls if you would prefer to have a less visible drain and trap and keep it under the benches.
Windows and Doors
Other interfaces include windows and doors. In most cases, our doors are specified in glass but they can be specified in wood and wood and glass. A key consideration is that wooden doors pose a slight risk of walking into a gangway blind and causing a collision with someone in the gangway during egress. Doors in the sauna should always be specified as opening outwards for safety reasons because if the user starts to feel faint they can simply push on the back of the door to leave, rather than collapse on the back of the door and prevent any rescue.
Windows can be a game changer in terms of sauna aesthetics but often little consideration is given to the impact these have on the computational volume of a sauna, and in turn, the power of the sauna heater required. For example, for every square meter of single glazed glass in a sauna build, you should add 1.5 cubic metres to the volume or capacity of the sauna. With a full glass wall on one side, it very quickly strains the capability of most smaller sauna heaters and looping back on power supplies - If you have a single phase supply, the maximum kilowattage of heater that can be used is 9kW. It is therefore important to consider the size of glazed apertures and overall sauna size, as well as any limitations on the power supply when designing the sauna space.
This multiplier effect on glass can be reduced by using double or triple glazing. Double glazing has a volumetric factor of 0.75 for example. However, it is important to note that you cannot use standard DGU’s (Double glazed units) and instead require non-butile silicone seals to prevent the seals from perishing and the unit from failing.
Insulation
In most cases, bespoke sauna installations will be installed directly onto the blockwork or stud work of the space. At Finnmark, we don’t believe in installing modular sauna kits for indoors usage because it is very difficult to make a decent seal and properly insulate them. It’s why you’ll often find such kits installed on the swimming pool side of indoor leisure areas which is already a hot and humid environment. In most domestic saunas the escaping steam and heat can cause damage such as damp, mildew, interstitial condensation and heat warping as a result of insufficient insulation and vapour sealing.
When we first enter a space the first thing we do is cover any of the sauna timber or stud walls with a fireboard for fire safety reasons. This is not necessary for any blockwork walls. Then, on top of this, we use specialist PIR insulation. The two main brands in this market are Finnfoam and Kingspan sauna satu. Both are heat safe up to 250 degrees celsius for a short time and up to 100 degrees for long periods. Standard PIR insulation boards are not heat-safe beyond 60 to 80 degrees Celsius after which they can begin off-gassing hydrogen cyanide which is highly toxic.
Kingspan sauna satu and Finnfoam act as both your insulation and your vapour barrier. Once secured onto the walls the joins are foamed up using an expanding foam adhesive and taped using a high tack aluminium vapour tape. Once complete, you should have a fully insulated and vapour sealed environment with the only penetrations being any window or door apertures and any ventilation points.
Structure/Wall Build-up
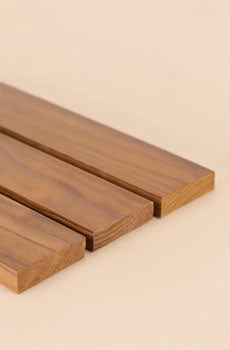
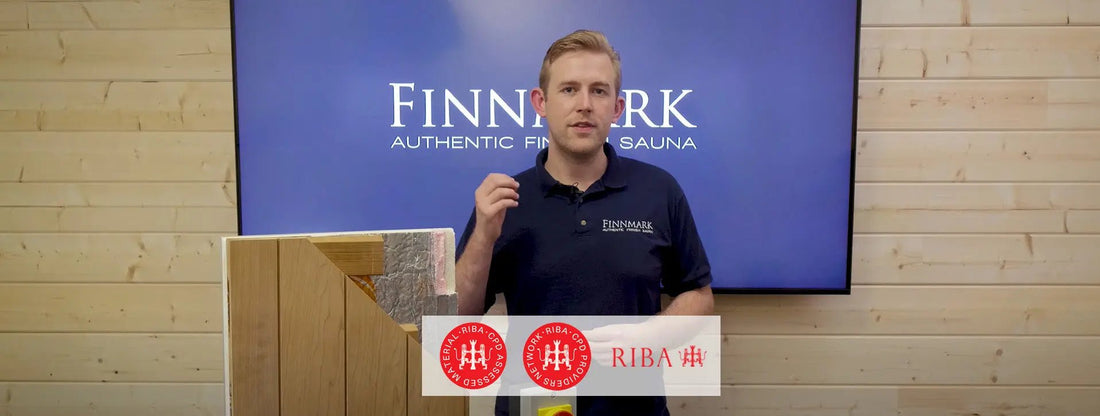
Onto the insulated and vapour sealed layer, sauna battens are secured, to space the cladding of the vapour barrier. It allows air to circulate around the timber and improve the longevity of the sauna. We’ve found that battens are the weak point in the sauna so we have our own proprietary, thermo treated, rhombus-shaped rain screen battens. These battens allow any condensation or moisture to run down the vapour barrier, over the top of the rhombus chamfered edge and down the grooves at the back of the cladding. The thermo treatment process turns a durability class 5 wood - in this case, spruce- into a durability class 2 wood which makes it far more durable, more dimensionally stable, less prone to warping and more resilient to any condensation or moisture.
We then secure cladding to the battens. In this particular case, we’ve used thermo aspen Kallio profile cladding with stainless steel brad nails hidden within the groove side of the cladding. The sauna timber is then treated with paraffin or mineral oil which improves its longevity, durability, resistance to dirt and moisture ingress. It is also both skin safe and safe at temperature.
The thickness of the wall build-up is typically 12.5mm of fireboard where required, 30mm of specialist sauna PIR insulation board, 20 to 25mm of thermo treated batten and 15mm of cladding in the case of European cladding or 17mm thick in the case of North American cladding. Thinner claddings are available, but in line with Finnish building regulation specifications, we use 14mm or thicker cladding.
Bench Layouts and Heights
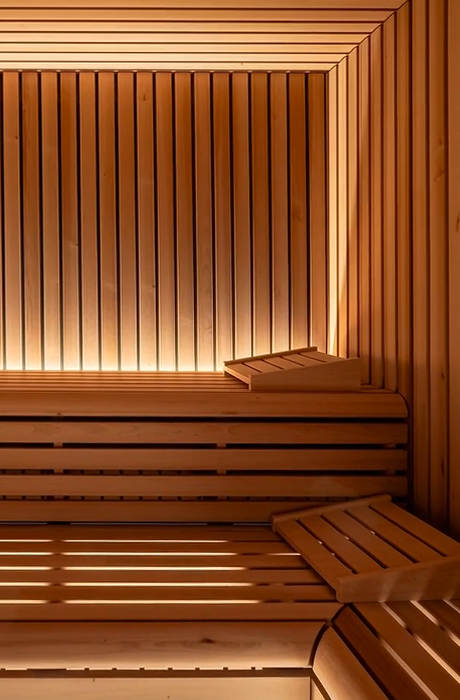
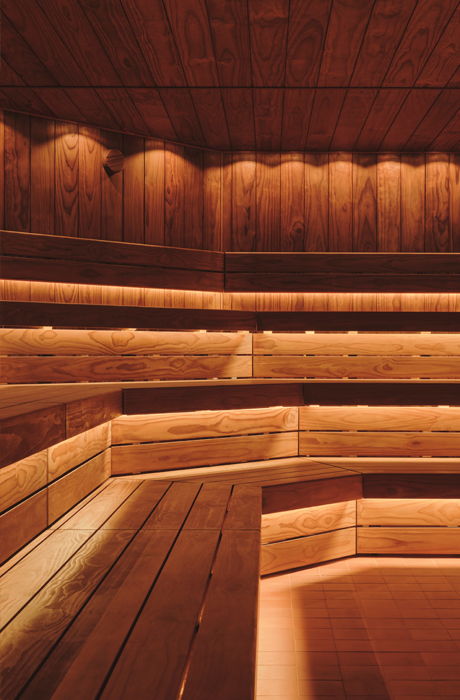
There are a wide array of options for the benching within a sauna, from your standard upper and lower bench on one side of the room to L shape and U shaped bench systems, opposing benches with a raised floor to totally custom bodyform loungers. One of our pet hates though and a cardinal sin in sauna design is the “lower bench only sauna”. From time to time we see saunas specified or designed with a lower bench only but we emphatically insist against designing such a space.
As we all know, heat rises. All the heat and steam generated in the space will sit up in the top half of the sauna and even with good ventilation, there will still be temperature stratification across the space. No sauna, even if on for hours, will become an isotherm. For that reason Finn’s design their saunas with emphasis on maximising the upper bench space as much as possible. This is where, given the choice, the users will spend 95% of their time.
In a typical domestic sauna, we look to have the following elevations: The ceiling in the sauna should be 2100mm from the finished floor level. The upper bench should be 1050mm from floor level, the lower bench 600mm and the step should be at 300mm. Naturally, in larger commercial saunas with more than two tiers of benching, these heights can be adjusted to suit. Some of you might be thinking, “What do I do if I don’t have space for an upper and a lower bench?”. Just like the Finn’s we would recommend designing a sauna with an upper bench and a raised floor. In order to avoid disappointed users, your focus should always be on an upper bench first.
